In the industrial world, hydraulic hoses are the lifelines of machinery—transmitting energy to power different components. Over time, these hoses can experience wear and tear, leading to breakdowns. Quick hydraulic hose repair is crucial to maintain operational efficiency and safety. It involves diagnosing the problem, understanding the specifications required for replacement, and executing the repair with precision. Prompt attention to damaged hoses can mean the difference between a minor inconvenience and a significant machine downtime, impacting productivity and profitability.
Understanding Hydraulic Hose Anatomy and Failure
A hydraulic hose comprises three main parts: the inner tube, reinforcing layer, and outer cover. The inner tube must be compatible with the hydraulic fluid to prevent degradation. Reinforcing layers provide strength and flexibility, often made from steel or textile. The outer cover protects against environmental damage. Hose failure can occur due to various reasons:
-
Tube erosion: Caused by high-velocity fluid or particulates within the fluid.
-
Wire wear: Results from repetitive flexing or rubbing against external surfaces.
-
Ozone cracking: Exposure to ozone can cause cracks in the outer cover.
-
Improper assembly: Incorrect fitting installation can lead to leaks or hose bursts.
Preventive maintenance and regular inspections mitigate the risk of failure, ensuring system reliability.
The Importance of Quick Diagnosis in Hose Repair
Detecting the root cause swiftly is paramount in hydraulic hose repair, as it minimizes downtime and prevents further damage. Quick diagnosis involves:
- Carefully examining the damaged hose for wear patterns, punctures, or signs of abrasion.
- Identifying underlying issues like fluid incompatibility or temperature abuse that may have led to failure.
- Checking the fittings and connections for signs of leaking or corrosion.
- Reviewing system pressure levels to assess if they align with hose specifications.
- Consulting the equipment’s maintenance history for previous issues or recurring patterns.
A thorough initial assessment ensures accurate repair, conserving resources and enhancing equipment longevity.
Essential Tips for On-Site Hydraulic Hose Assessment
To ensure efficiency and safety, consider the following tips for on-site hydraulic hose assessment:
- Visual Inspection: Begin with a visual inspection of the entire hose assembly. Look for signs of wear, damage, oil leaks, or any abrasion.
- Check Fittings: Examine the hose fittings and connectors for corrosion or damage. They should be secure without any evidence of leakage.
- Verify Proper Routing: Ensure the hose is properly routed to avoid kinking, twisting, or undue tension, which could lead to premature failure.
- Operating Environment: Assess the environment in which the hose operates. Extreme temperatures, chemicals, and nearby abrasive surfaces can impact its integrity.
- Pressure Ratings: Always check that the hose and fittings are rated for the maximum operating pressure of the hydraulic system. Replace components not meeting these specifications.
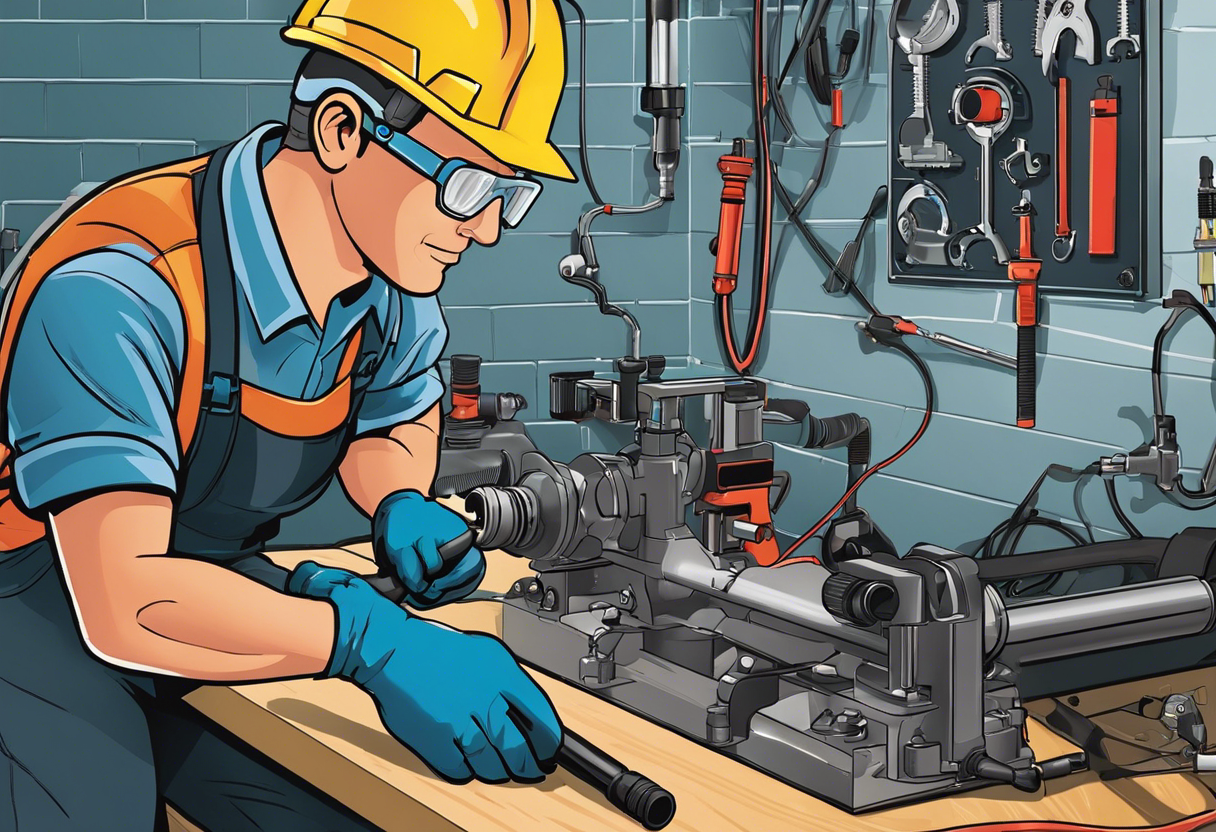
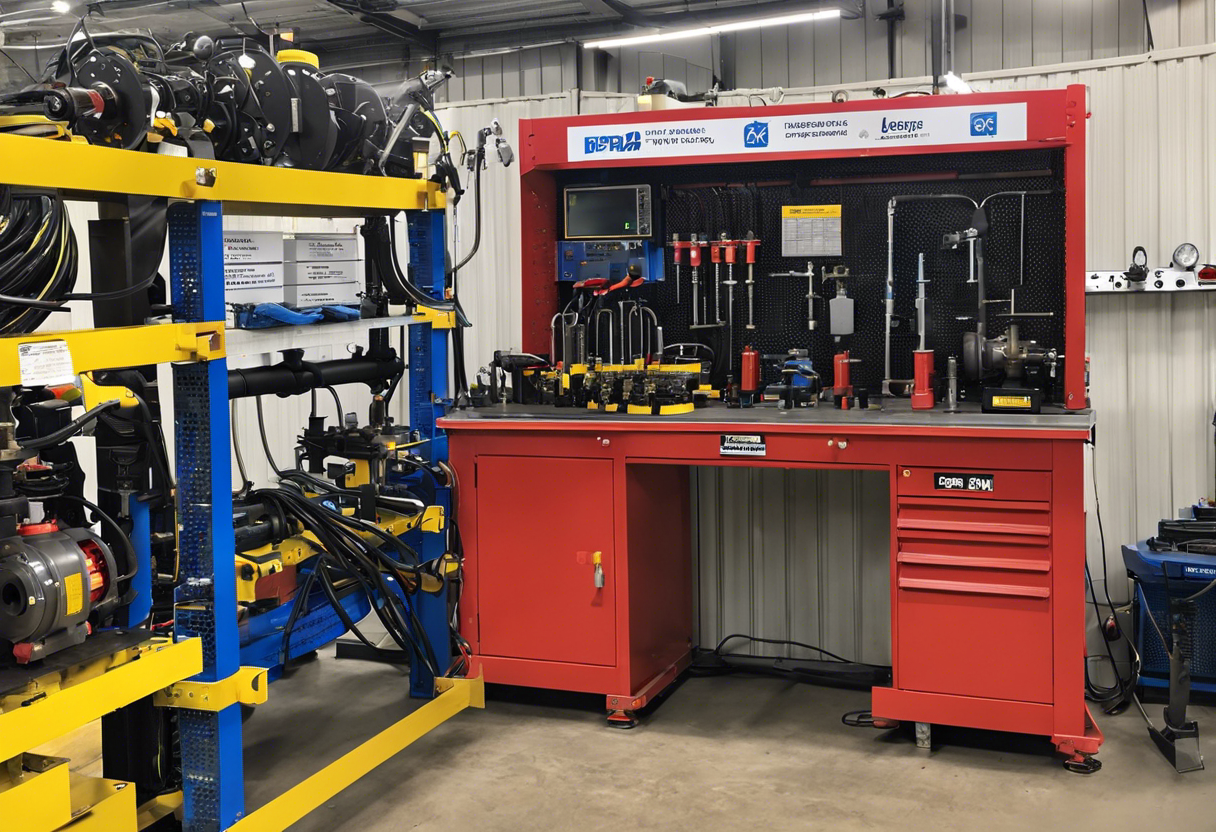
Assembling Your Hydraulic Hose Repair Toolkit
To effectively address hydraulic hose breakdowns, one must assemble a comprehensive repair toolkit. This collection should include:
-
Cutting tools: A sharp knife or hose cutter for clean and precise cuts.
-
Fittings and adapters: A variety of compatible fittings and adapters to accommodate different hose sizes and types.
-
Crimping machine: A quality crimping machine ensures secure connections.
-
Hydraulic hose:* Spare hoses with varying diameters and lengths.
-
Thread identification kit: To accurately match fittings and hoses.
-
Protective gear: Safety goggles and gloves to prevent injuries.
-
Clean-up materials: Rags and cleaners for maintaining a clean workspace.
Equipping oneself with these tools enables swift and proper hose repairs.
The Step-by-Step Guide to Hydraulic Hose Removal
-
Identify the Problem Area: Ensure the system pressure is fully released before beginning any work on the hydraulic hose.
-
Clean the Area: To prevent contamination, clean any dirt and debris from around the hose and fittings.
-
Depressurize the System: Actuate the hydraulic system to relieve pressure and ensure the hose is safe to remove.
-
Loosen Fittings: Use the appropriate wrenches to carefully loosen and detach the hose fittings.
-
Remove Clamps or Supports: Unfasten any clamps or supports holding the hose in place to allow for removal.
-
Carefully Remove the Hose: Gently extract the hose to avoid spilling hydraulic fluid and minimize system contamination.
-
Cap Off Openings: Immediately cap the open fittings to prevent contamination and fluid loss.
-
Inspect for Damage: Examine the fittings and ports for any damage before installing a new hose.
Selecting the Right Replacement:
When repairing hydraulic hoses, it’s essential to match the correct hose type and fitting to the application to ensure safety and functionality. The selection includes:
-
Low-pressure hoses: Suited for less demanding applications, typically with textile braiding.
-
Medium-pressure hoses: Reinforced with one or two steel wire braids, appropriate for most industrial purposes.
-
High-pressure hoses: Built with multiple layers of wire spiral reinforcement for extreme pressures and heavy-duty operations.
-
Thermoplastic hoses: Flexible and suitable for high levels of abrasion.
-
PTFE hoses: Optimal for high temperatures and aggressive chemicals.
For fittings, it’s imperative to choose ones that match the thread, size, and angle of the broken hose, as incorrect fittings can result in leakage or hose failure. Ensure that the replacement matches the original’s specifications for a secure fit and optimal performance.
Installation Techniques for Hydraulic Hoses
When replacing hydraulic hoses, it is critical to apply correct installation techniques to ensure system reliability and safety. Professionals follow these steps:
-
Selection of the Right Hose: Match hose size, temperature, fluid type, and pressure rating with the system requirements.
-
Clean Cutting: Cut the hose cleanly at a 90-degree angle to prevent contamination and ensure a proper fit.
-
Proper Routing: Avoid sharp bends and route hoses away from high-heat areas to reduce the risk of damage.
-
Securing Fittings: Tighten fittings to the manufacturer’s specifications using two wrenches to prevent twisting of the hose.
-
Protective Sleeving: Apply protective sleeving where abrasion is likely to extend the life of the hose.
Adherence to these techniques can prevent premature hose failure and costly downtime.
Testing Your Repair:
Ensuring Hose Integrity
After repairing a hydraulic hose, it’s critical to test the system thoroughly to ensure the integrity of the repair. Follow these steps:
-
Pressurize the System: Slowly increase the hydraulic system’s pressure to the hose’s recommended working PSI to ensure that it can handle the operational stress.
-
Inspect for Leaks: Carefully examine the repaired area and hose fittings for any signs of leaks. Even minor seepage can indicate an improper repair.
-
Check Hose Fittings: Ensure the fittings are secure and that there is no movement between the hose and its fittings, which might indicate a potential failure point.
-
Monitor Performance: Observe the hydraulic system’s performance during its initial operation following the repair, listening for unusual noises and observing pressure fluctuations.
-
Record Results: Document the test results and any observations to maintain a repair history, which can be invaluable for future maintenance and diagnostics.
Preventive Measures to Reduce Future Hose Failures
- Routinely inspect hoses for signs of wear, abrasion, and aging.
- Avoid exposing hoses to extreme temperatures and corrosive materials.
- Ensure proper hose routing to minimize bending, twisting, and stretching.
- Use correct fittings and clamps to prevent leaks and detachment.
- Flush the hydraulic system to remove contaminants before fitting new hoses.
- Follow manufacturers’ specifications for hose assembly and torque settings.
- Implement a scheduled maintenance program for systematic checks and replacement.
- Train personnel on proper hose inspection and handling techniques.
- Label hoses with installation dates and replace them proactively based on service life rather than waiting for failure.
- Invest in higher quality hoses for high-stress applications to enhance longevity.
When to Call in the Professionals:
Limits of DIY Repair
DIY repair can be gratifying and cost-effective, but it’s vital to recognize when a professional’s intervention is necessary. Call the experts when:
- Complex diagnostics are required to pinpoint the issues within your hydraulic system.
- Repairs involve specialized tools or equipment that are not typically available to non-professionals.
- The hydraulic system is part of a critical operation where failure can lead to significant downtime or safety hazards.
- There are warranty concerns that unprofessional repair could void.
- You’re dealing with high-pressure systems where incorrect repairs could lead to dangerous failures.
Remember, a temporary DIY fix might save time initially, but calling in professionals ensures longevity and safety in your hydraulic system’s operation.
FAQS About Hydraulic Hose Repair
Conclusion:
Once hydraulic hose repair is completed, maintaining system health is critical to prevent future failures. To ensure longevity:
- Regularly inspect hoses and connections for wear and damage.
- Implement a maintenance schedule based on manufacturer recommendations.
- Monitor hydraulic fluid levels and quality, replenishing and filtering as needed.
- Train personnel on proper system operation to avoid undue stress on hoses.
- Keep an inventory of spare parts for quick replacement to minimize downtime.
Post-repair maintenance ensures the hydraulic system continues to function efficiently and reliably.
FOR MORE INFO VISITS: https://www.youtube.com/watch?v=l9p_KZ644Og
FOR MORE INFO VISITS: https://manualwheel.com/how-to-choose-th…for-your-vehicle/