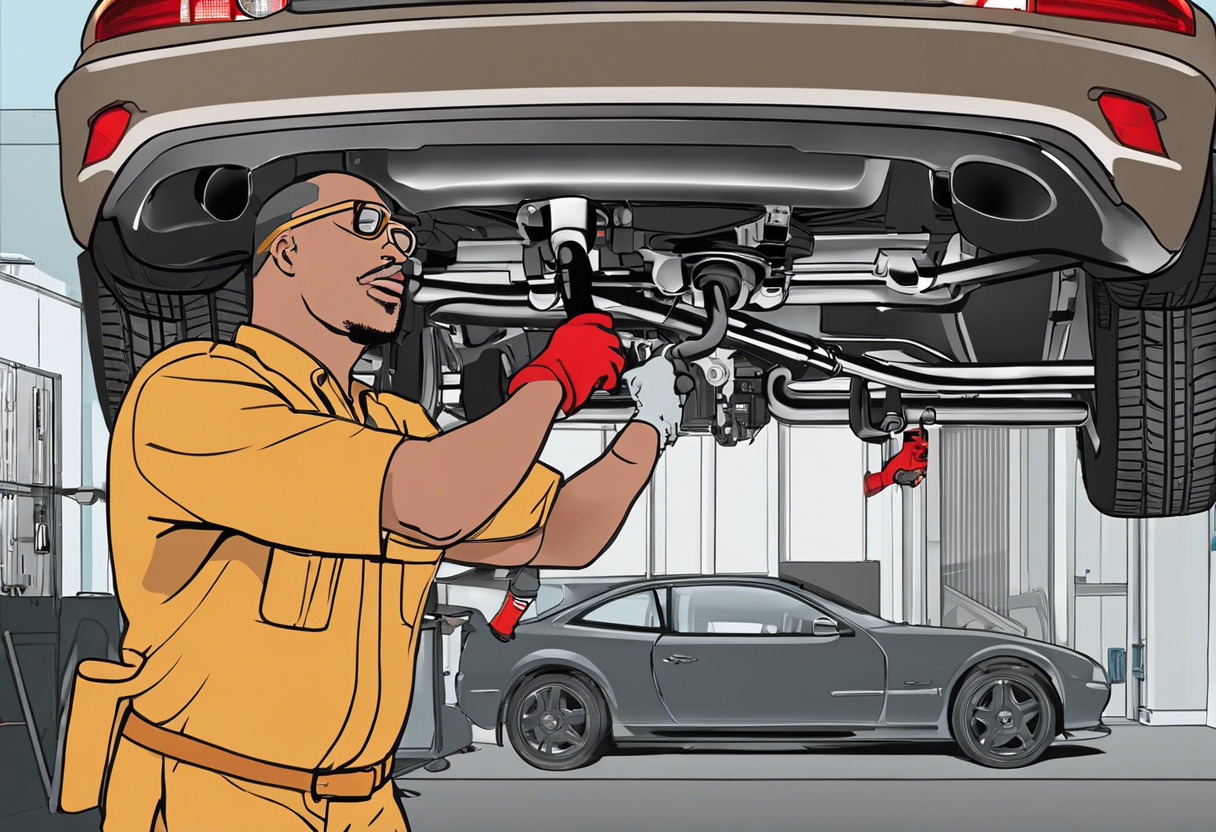
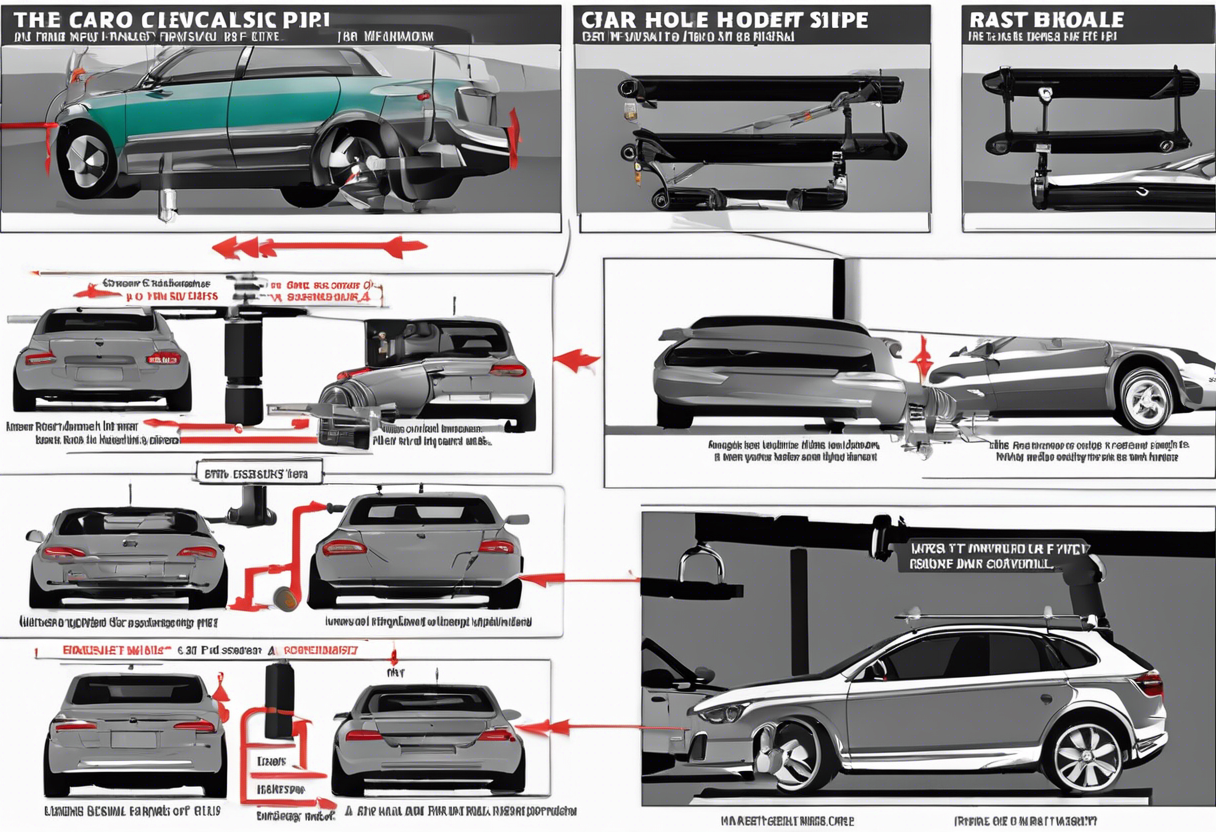
Flexible exhaust pipes are an integral component of a vehicle’s exhaust system, designed to absorb vibrations and prevent stress on the engine components. Constructed from a corrugated metal tube and often encased in a woven metal wire braid, these pipes allow for thermal expansion and positional movement between the exhaust manifold and muffler. They are crucial for maintaining optimal engine performance and sound attenuation. Proper installation is mandatory to avoid leaks, which can lead to performance issues and potentially hazardous exhaust fumes entering the vehicle cabin. This guide aims to provide a comprehensive walkthrough for installing a flexible exhaust pipe, ensuring a safe and effective upgrade to your car’s exhaust system.
Tools and Materials Needed for Installation
Before starting the installation of a flexible exhaust pipe on a car, ensure the following tools and materials are at hand:
-
Ratchet set with various socket sizes
-
Wrench set for manually loosening tight bolts
-
Screwdrivers in both Phillips and flat-head varieties
-
Exhaust pipe cutter for precise cutting of the pipes
-
Jack stands or a hydraulic lift to safely elevate the car
-
Wheel chocks to prevent the car from rolling
-
Penetrating oil to ease the removal of rusted components
-
New flexible exhaust pipe appropriate for the vehicle model
-
Exhaust pipe clamps matching the diameter of the new pipe
-
Exhaust gasket to prevent leaks at the connection points
-
Heat-resistant gloves for protection against burns
-
Safety glasses to shield eyes from metal fragments and dust
Understanding Your Car’s Exhaust System
The exhaust system in a vehicle plays a critical role in its overall performance and environmental impact. It guides exhaust gases away from the engine—critical for maintaining a safe cabin environment—and typically includes the exhaust manifold, catalytic converter, resonator, muffler, and tailpipe. This system is not only responsible for reducing engine noise but also for minimizing harmful emissions. Understanding its components and functionality is essential before attempting to install a flexible exhaust pipe, which provides a crucial link that accommodates engine movement and reduces stress on the exhaust system. Its correct installation is pivotal in maintaining the system’s integrity and operation.
Selecting the Right Flexible Exhaust Pipe for Your Car
Choosing the correct flexible exhaust pipe is crucial for optimal vehicle performance and safety. One must consider:
- Diameter: Match the pipe’s diameter to your car’s exhaust system specifications to ensure proper fit and exhaust flow.
- Material: Stainless steel pipes offer durability and resistance to corrosion, while aluminized steel is a cost-effective alternative.
- Length: Ensure the pipe is long enough to accommodate movement between the exhaust system and the engine without stress or binding.
- Temperature Rating: Choose a pipe that can withstand the high temperatures of exhaust gases without degrading.
- Certifications: Verify that the pipe meets industry standards and regulations, which can indicate quality and reliability.
When in doubt, consulting with a professional or the vehicle manufacturer can lead to a more informed decision.
Safety Precautions Before Starting the Installation
Before beginning the installation of a flexible exhaust pipe, adhering to safety protocols ensures a hazard-free environment:
- Work in a well-ventilated area: Exhaust fumes are hazardous; therefore, an open or well-ventilated workspace is crucial.
- Cool down your vehicle: Wait for the engine and exhaust system to cool completely to prevent burns.
- Use safety gear: Heavy-duty gloves, safety goggles, and durable work clothing are recommended to protect against sharp edges and hot components.
- Disconnect the battery: Prevent electrical hazards by disconnecting the car’s battery, particularly the negative terminal.
- Secure the vehicle: Ensure the car is on a flat surface with the parking brake engaged and use wheel chocks for additional stability.
- Have a fire extinguisher nearby: Be prepared for accidental sparks that might ignite flammable materials around the work area.
- Keep a first aid kit on hand: In case of minor injuries, immediate access to a first aid kit is essential.
Step-by-Step Guide to Removing the Old Exhaust Pipe
- Secure the Vehicle: Park on a level surface, engage the parking brake and use jack stands to elevate the car.
- Inspect the Exhaust System: Examine how the old pipe is connected to the exhaust system, noting any bolts, clamps, or hangers.
- Spray Penetrant: Apply a rust penetrant spray to the bolts and clamps and allow it to soak in to ease removal.
- Remove Bolts and Clamps: Use a socket wrench or breaker bar to carefully remove the bolts. Slide clamps off the pipe.
- Detach Hangers: Support the pipe, then remove it from the rubber hangers using exhaust hanger removal pliers.
- Separate the Pipe: If the system allows, gently twist and pull the pipe to disconnect it from the adjoining sections.
- Inspect the Components: Check adjoining exhaust sections for damage before installing a new flexible exhaust pipe.
Precise Measurement and Cutting of the Flexible Pipe
Before installing a flexible exhaust pipe, accurate measurements are crucial to ensure the pipe fits correctly without unnecessary strain. Use a tape measure to determine the length needed, adding a few centimeters for margin. Mark the flexible pipe with a non-permanent marker at the required length. To cut, firmly secure the pipe in a vise. Employ a pipe cutter or a fine-toothed hacksaw, ensuring the cut is clean and straight. Deburr the edges with a file to remove any sharp remnants that may damage other components or hinder a proper seal.
Securing the Flexible Exhaust Pipe:
Clamps and Welding Techniques
When installing a flexible exhaust pipe, it’s crucial to secure it properly to ensure durability and safety. The two most common methods are using clamps and welding.
- Exhaust Clamps:
- These are designed to seal the connection between your flexible pipe and the rest of the exhaust system.
- Ensure you choose the right diameter to match both the flexible pipe and the adjoining parts.
- Torque the clamps evenly to the manufacturer’s specifications, avoiding over-tightening which can lead to damage.
- Welding:
- Ideal for a permanent seal, welding must be performed by a professional with experience in exhaust systems.
- The two common techniques are MIG and TIG welding, each offering a reliable seal if done correctly.
- Before welding, clean both surfaces of any rust, paint, or debris to ensure proper adhesion and a solid weld.
Testing for Leaks:
Ensuring a Proper Seal
When installing a flexible exhaust pipe, it’s critical to test for leaks to ensure that the seal is airtight. Follow these steps:
- Start the car so the exhaust system warms up and expands.
- Use a handheld smoke machine around the exhaust connections, if available.
- Alternatively, you can apply a soapy water solution along the pipe connections and look for bubbling, which indicates escaping gas.
- Listen for hissing sounds that may signify a leak.
- Inspect the area using a flashlight for added visibility, paying careful attention to the clamps and joinings.
Address any detected leaks immediately by tightening clamps, readjusting the pipe, or replacing faulty components to maintain proper functionality and safety.
Final Touches:
Insulation and Protection
After installing your new flexible exhaust pipe, it’s imperative to add insulation and protection to ensure longevity and safety. Insulation shields the exhaust pipe from external elements and reduces heat transfer to nearby components. Heat-resistant wraps or tapes are commonly used for this purpose. They should be wrapped tightly around the pipe, securing them with metal ties.
Protection is also crucial:
- Install heat shields where the exhaust runs close to sensitive components.
- Apply a rust-resistant coating to prevent corrosion.
- Regularly inspect the exhaust pipe for signs of damage or wear.
Following these steps will maintain the effectiveness and durability of your flexible exhaust pipe.
Maintenance Tips for Your New Flexible Exhaust Pipe
To ensure the longevity and performance of your new flexible exhaust pipe, adhere to the following maintenance tips:
- Regularly inspect the flexible exhaust pipe for signs of wear, such as cracks or loose connections, ideally during routine oil changes.
- Address rattling sounds immediately; these may indicate loosening, necessitating clamp tightening or component replacement.
- Apply anti-seize lubricant on the flanges during installation to prevent seizure and allow for easier disassembly during future maintenance.
- Avoid prolonged exposure to high-temperature environments which can degrade the flexible section.
- Ensure proper engine tuning; engine misfires and unburnt fuel can excessively heat and damage the exhaust system.
- In the event of noticeable deterioration, consult with a professional mechanic to evaluate the need for a replacement.
Conclusion:
A properly installed flexible exhaust system yields multiple advantages. It absorbs vibrations and engine movement, reducing stress on exhaust components and preventing cracks or leaks. Enhanced flexibility allows for better adaptation to thermal expansion, which in turn extends the service life of the exhaust system. It also facilitates easier installation and maintenance. A correctly fitted system improves engine performance and efficiency by ensuring optimal exhaust flow. Noise reduction is another significant benefit, leading to a quieter and more enjoyable driving experience. In essence, a well-installed flexible exhaust system enhances vehicle longevity, performance, and user comfort.
FAQs
Read More: Walker Exhaust 36326 Universal Exhaust Flex Pipe
Read More: Performance exhaust mufflers are key components in vehicle exhaust systems

