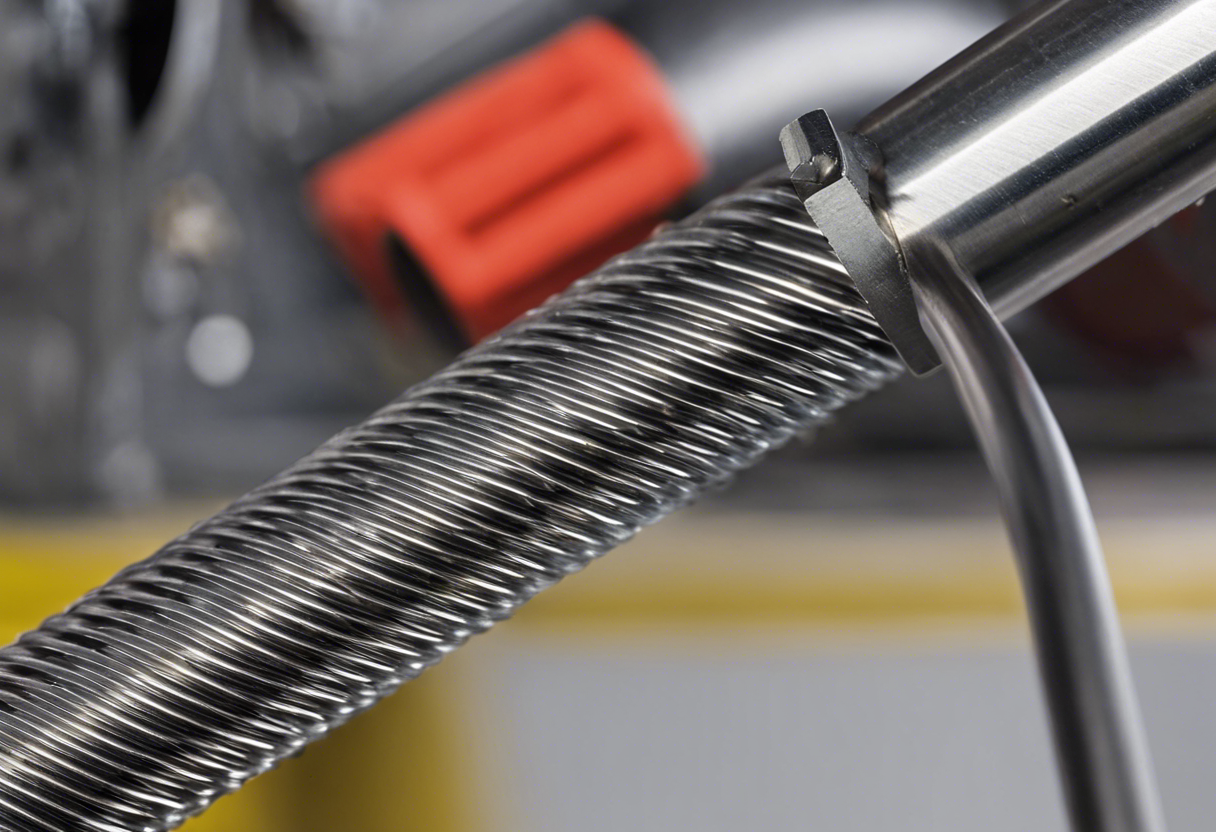
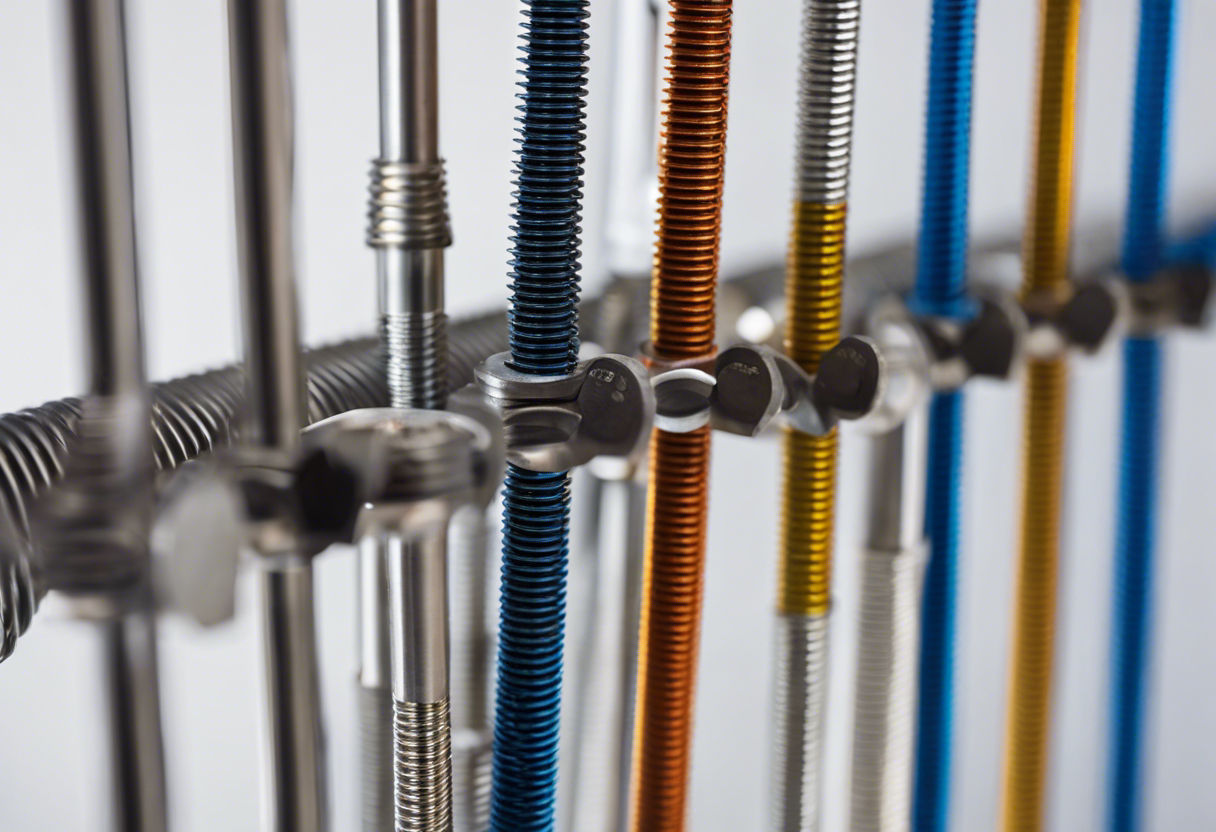
A Helicoil kit is a valuable tool for any project that involves thread repair or reinforcement. It offers a reliable and cost-effective solution to damaged or worn-out threads in various materials, such as metal or plastic. The kit typically includes all the necessary components for installation, including inserts, an installation tool, a tap, and a tang break-off tool.
Using a Helicoil kit can save time and money compared to alternative solutions, like replacing the entire component or using oversized threads. It allows for the repair of damaged threads without compromising the structural integrity of the part. Additionally, Helicoil inserts provide stronger and more durable threads compared to the original ones, enhancing the overall performance and longevity of the project.
The installation process of a Helicoil insert is relatively straightforward. It involves tapping a slightly larger hole in the material, inserting the insert using the installation tool, and breaking off the tang, which securely locks the insert into place. This method ensures a tight and secure fit, preventing any future issues with thread stripping or loosening.
One of the significant advantages of using a Helicoil kit is its versatility. The inserts are available in a range of sizes and thread types, allowing for compatibility with different projects and requirements.
In conclusion, the Helicoil kit is a valuable tool for thread repair and reinforcement in various projects. Its ease of use, cost-effectiveness, and durability make it a preferred choice for professionals and DIY enthusiasts alike. Whether you are repairing damaged threads or reinforcing weak ones, the Helicoil kit provides a reliable solution that ensures the longevity and performance of your project.
Understanding the Helicoil Kit Components
To successfully utilize Helicoil inserts in your projects, it is important to have a comprehensive understanding of the various components included in a Helicoil kit. Here are the key components you can expect to find:
- Helicoil Inserts: These are the main components of the kit and are made from high-quality materials such as stainless steel or carbon steel.
- Installation Tool: The kit typically includes an installation tool, which is used to insert the Helicoil inserts into the desired location. This tool ensures precise and accurate positioning of the inserts.
- Thread Tap: A thread tap is included in the kit to create new threads in the damaged or worn-out holes before inserting the Helicoil inserts. This is crucial to ensure a strong and secure connection between the insert and the material.
- Inserting Tool: In order to properly install the Helicoil inserts into the tapped hole, an inserting tool is provided. This tool helps guide the insert into the hole and ensures it is placed securely and evenly.
- Tang Removal Tool: Heli coil inserts usually have a small tang protruding from the end, which is used during the installation process to facilitate easy placement.
By familiarizing yourself with the various components of a Heli coil kit, you can effectively utilize these inserts in your projects, providing strong, reliable threaded connections.
Preparing for the Helicoil Insertion
- Selecting the appropriate helicoil size: It is essential to determine the correct size of heli coil insert for your specific project. Consider factors such as the thread size and material compatibility to ensure a proper fit.
- Preparing the threaded hole: Prior to inserting the heli coil, the threaded hole should be cleaned and free of any debris. It is crucial that the hole is smooth and clean to facilitate the helicoil installation.
- Applying lubrication: Before inserting the helicoil, apply a lubricant to both the helicoil and the insert tool. This will help ease the insertion process and prevent any damage to the helicoil or the surrounding material.
- Aligning the helicoil tool: Proper alignment is key to ensuring that the helicoil is inserted accurately. Start by positioning the helicoil tool perpendicular to the hole, and then carefully align the tang of the helicoil with the insertion tool.
- Inserting the helicoil: With the helicoil and insertion tool aligned, gently insert the helicoil into the prepared hole. Apply consistent and moderate pressure while rotating the helicoil tool in a clockwise motion.
By following these preparation steps, you can ensure a smooth and effective helicoil insertion. Taking the time to properly prepare will result in a secure and reliable attachment, offering the numerous benefits of using helicoil inserts in your projects.
Drilling and Tapping the Hole
- Drilling the hole: The first step in using Helicoil inserts is to drill a hole in the material where the insert will be installed. Precision is crucial during the drilling process to ensure the hole is straight and accurately sized. Using a drill press or another suitable drilling method can help achieve this level of accuracy.
- Tapping the hole: After the hole is drilled, it needs to be tapped to create the internal threads required for the Helicoil insert. Tapping involves using a tap, which is a specially designed cutting tool, to create the threads inside the hole. The tap must match the desired thread pitch for the Helicoil insert.
- Clearing the hole: Once the tapping process is complete, it is essential to clean the hole thoroughly to remove any debris or metal shavings that may have accumulated during drilling and tapping.
- Installing the Helicoil insert: With the drilled and tapped hole prepared, it is now ready for the installation of the Helicoil insert. Once fully inserted, the insert remains securely in place, providing a reliable threaded connection.
Coil Insertion Process
The coil insertion process is a crucial step in utilizing heli coil inserts in projects. This process involves carefully installing the inserts into pre-drilled holes to create a strong and reliable threaded connection. Here are the steps involved in the coil insertion process:
- Preparation: Before starting the coil insertion process, it is important to gather all the necessary tools and materials. This includes heli coil inserts, a tap, a drill bit, and a coil insertion tool.
- Drilling: The first step is to drill a hole with the appropriate size for the heli coil insert. The hole should be slightly larger than the outer diameter of the insert.
- Tapping: Once the hole is drilled, it needs to be tapped to create the internal threads.
- Insertion: After tapping, the coil insertion tool is used to install the heli coil insert.
By following these steps, the coil insertion process can be completed effectively, resulting in a strong and reliable threaded connection.
Reassembly and Testing
Once the Heli coil inserts have been installed, the reassembly process can begin. The original components can be carefully placed back into position, ensuring that they align correctly with the Heli coil inserts.
After reassembly, it is crucial to perform thorough testing to guarantee the effectiveness of the Heli coil inserts. This testing phase helps to identify any potential issues or weaknesses in the system. Some key steps in the testing process may include:
- Torque Testing: Applying a controlled amount of torque to the fasteners can determine if the Heli coil inserts provide the necessary strength and stability. This test ensures that the inserts can withstand and distribute the load evenly.
- Pull-Out Testing: By exerting force perpendicular to the fastener, pull-out testing assesses the inserts’ ability to resist being pulled out from the surrounding material. This test helps ensure that the Heli coil inserts will securely hold the components together.
- Vibration Testing: Exposing the assembled components to vibration simulates real-world conditions and verifies if the Heli coil inserts can maintain their integrity under such circumstances. This test is particularly crucial when the project requires stable and reliable connections.
- Leak Testing: For applications involving fluid or gas flow, leak testing checks if the Heli coil inserts prevent any leakage or seepage. This test is essential to ensure a reliable and leak-free connection in scenarios such as plumbing or fluid system assemblies.
Adhering to industry standards and guidelines will help ensure accurate and meaningful results from the testing phase.
Troubleshooting Common Issues
- Insert compatibility: Ensure that the Heli coil insert you are using is compatible with the material you are working with. Different inserts are designed for specific materials and mismatching can lead to ineffective threading or thread damage.
- Thread damage: If you notice any thread damage while installing the Heli coil insert, stop immediately. Continued installation with damaged threads can compromise the integrity of the insert. Remove the damaged insert and replace it with a new one.
- Insert slippage: Sometimes, the Heli coil insert may slip during installation, resulting in a misaligned or loose thread. To fix this issue, remove the insert and secure it properly using the appropriate installation tool, ensuring it is tightened correctly.
- Thread binding: If the inserted fastener or bolt becomes difficult to turn or gets stuck, it may be due to thread binding. To resolve this issue, remove the fastener, inspect the threads, and clean them if necessary. Use a lubricant or anti-seize compound to facilitate smooth thread movement.
Troubleshooting should be done carefully to avoid further damage or complications in your project.
Tips for Successful Helicoil Kit Usage
- Choose the right size: Heli coil kits come in various sizes, so it is crucial to select the appropriate one for your project. Refer to the thread size and pitch of the damaged hole to determine the correct heli coil size.
- Prepare the hole: Before installing the heli coil insert, it is essential to clean the damaged hole thoroughly. Use a tap to remove any debris, rust, or old thread material. This will help ensure a proper fit and prevent future issues.
- Apply lubrication: It is recommended to use a suitable lubricant on the tap before threading the hole. This helps reduce friction and allows for smoother and easier threading.
- Drill and tap the hole: Use a drill bit of the specified size provided in the heli coil kit to drill the hole. Make sure to follow the recommended drilling depth. After drilling, use the included tap to create the correct thread for the helic oil insert.
Safety Precautions and Best Practices
- Personal Protective Equipment (PPE): Always wear appropriate PPE, including safety glasses, gloves, and protective clothing, when handling Heli coil inserts. This will protect you from potential injuries caused by flying debris or sharp edges.
- Tool Selection: Select the right tools for the job, including drill bits, taps, and installation tools.
- Drilling: Before drilling, take precautions to secure the workpiece and prevent it from moving or rotating. Use a center punch to create a starting point and drill a hole with the correct diameter and depth specified for the Heli coil insert.
- Tapping: When tapping the drilled hole, proceed slowly and apply consistent pressure.
- Insert Installation: Ensure the insert is clean and undamaged. Use an installation tool or mandrel to carefully thread the insert into the tapped hole. Avoid excessive force or overtightening, as it can lead to thread distortion or damage.
Always refer to the manufacturer’s instructions and guidelines for specific recommendations based on your project requirements.
Conclusion
In conclusion, the use of Heli coil inserts in your projects offers several key benefits. Firstly, these inserts provide strong and reliable threaded connections, reducing the risk of stripping or damaging threads. Secondly, they can significantly increase the load-bearing capacity and durability of the fasteners. This is especially advantageous in high-stress applications or environments. Overall, incorporating Heli coil inserts in your projects can enhance the efficiency, reliability, and longevity of threaded connections.
FAQs
Read More: Coil thread inserts for metals with screw-locking effect

